The clever dripper is a fantastic mix of immersion and pour-over methods. Brewing with this amazing coffee maker isn’t tricky, but it gets tough at times. Here in our clever dripper brewing guide, we will guide you for making a perfect mixed brew.
Let’s make it easier by going through a detailed guide of what you need to get started with clever dripper brewing. And of course, we’ll discuss the benefits and shortcomings of this brewing method, along with the cleaning method, once you’re done.

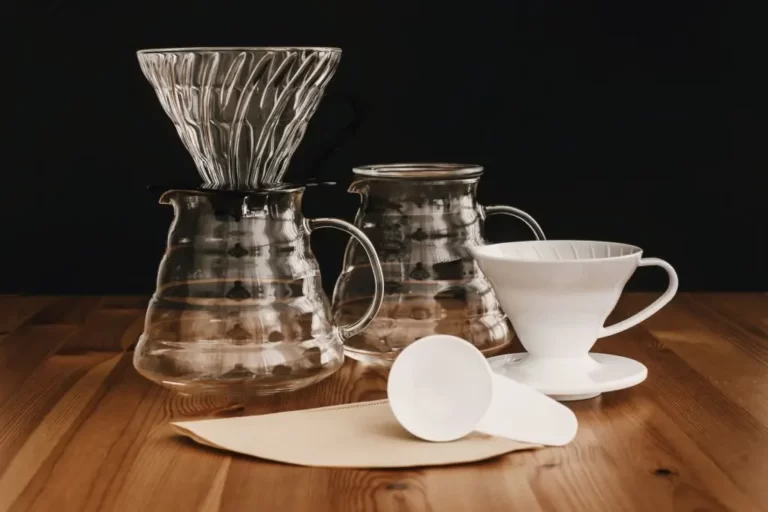
Ingredients
- Clever Coffee Dripper (11oz/ 18oz model)
- Paper Filters (#2 for the smaller one, #4 for the larger one)
- Freshly Roasted Coffee Beans (Amount dependent on your requirement)
- Water (345g for brewing, an extra 15g for pre-rinse)
- Burr Grinder
- Scale
- Timer
- Variable Temperature Kettle or Kettle
- Spoon
- Mug
10 Steps For Brewing On A Clever Dripper
Step #1: Grind Your Coffee Beans
Start by grinding the coffee beans with the 1:15 coffee-to-water ratio in mind. When using the larger version (which is more common and recommended), measure 23g of coffee beans for grinding.
Once done, grind the beans in a medium-fine grind setting.
Step #2: Heat Your Water
While the beans grind, it’s time to heat up your water. First, bring the water temperature to 195ºF – 200ºF, let it sit for 30-60 seconds to get the temperature down to a more optimal level.
Step #3: Prep Your Brewer
When the water’s cooled down a little, use the extra 15g water you took to pre-rinse the paper filter you’re using. You can measure the 15g water using your scale to make it easier.
Put the filter in the dripper, and rinse the paper filter with hot water. Pre-rinsing your filter serves a 3-in-1 purpose.
- It preheats your brewer.
- The hot water rinse takes the paper-like taste out of the filter
- It preheats your coffee mug
Once you’re done rinsing the paper filter, discard the water before you proceed, or you’ll keep wondering why your coffee taste is making you sad.
Step #4: Place The Dripper On The Scale And Add Your Grounds
Once the water and the grounds are ready, prepare the scale by tearing the scale, so it’s back to zero and not showing incorrect outputs.
Place the dripper on the scale, and add to the coffee grounds.
Step #5: Let The Coffee Bloom
This is the most crucial part. When you’re done adding the grounds, pour enough water to soak the coffee grounds, but not enough to make them drown. Let the coffee grounds sit for 30 seconds to let the coffee bloom.
Step #6: Add In The Rest Of The Water
Once the coffee is bloomed, pour in the rest of the water as fast as possible to prevent more contact with oxygen. There’s no specific pouring technique for this brewer, so just dump it in there altogether.

Step #7: Break The Crust
When brewing, a clever dripper creates a layer of crust on top of your coffee. Then, slowly stir the mix with a spoon to break the crust once you’re halfway through the brewing process (around the 2-minute mark).
The goal here is to make sure that you don’t have coffee grounds stuck at the side of your brewer. Then, when you stir and break up the crust, it ensures an even extraction. It also helps the grounds to gather at the bottom when the brewing is complete.
Step #8: Start Draining The Coffee In The Cup
Now that you’re done brewing, place the clever dripper on the mug and activate the draining valve. The coffee will slowly drain into the mug as the drawdown process continues. It can take around 2 minutes.
Step #9: Stir The Draining Coffee
This is an optional step but important nonetheless. You can speed up the process by taking the lid off, stirring the coffee that’s still in the clever dripper, and creating a vortex. Stir it a few times, and re-attach the lid on top.
This step puts the coffee through the extraction motion a bit faster.
Step #10:Check The Water Levels, And Enjoy
After 2.5 minutes, lift the lid and check if all the water has been drained from the dripper into the mug. If it’s completed, close the valve, and set the brewer aside for post-brewing cleanup.
Your coffee is now ready. Add in your desired additives, and enjoy!
How To Clean The Clever Dripper
Now that you’ve enjoyed your cup of coffee, it’s time to clean up your clever dripper for the next time you’re going to brew. But the cleanup is a bit more complicated than you want it to be.
The easiest way for a quick cleaning is to rinse the parts with hot water. And by that, I mean the parts that come in contact with the coffee when you’re brewing. After cleaning, let the brewer dry thoroughly.
Be sure to take the parts of the clever dripper apart, and give it a thorough cleaning at least once a month.
While making your coffee, you can make mistakes.
Read out our common coffee making mistakes to avoid article and identify yours.
Ups And Down Of The Clever Dripper
There’s no doubt that the entire concept of a clever dripper is really… clever.

Without us making any more dad jokes, let’s look at the advantages and disadvantages of clever drippers.
Advantage of the Clever Dripper
- You don’t need previous brewing experience to operate this one.
- It’s really cheap. You can get your hands on one for as low as $20.
- The clever dripper kit is lightweight and durable.
- A clever dripper is travel-friendly.
- You can brew large batches of coffee using a clever dripper
Disadvantages of the Clever Dripper
- A clever dripper is hard on the eyes compared to the French press or the AeroPress, so it’s not something you would want to display on your counter.
- Cleaning a clever dripper can get complicated since you need to take it apart for complete cleaning.
Had fun reading our clever dripper brewing guide?
Learn more from our how to make espresso in a french press article.
Bottom Line
A clever dripper is a very convenient option when you’re on a tight budget but want to get into the world of coffee. The brewing and cleaning can get tricky, but we’re sure you’re smart enough to figure it all out after learning the clever dripper brewing guide.
If you’ve already got yourself a clever dripper, put the recipe to good use and enjoy your coffee.
Cheers!
FAQs
The clever dripper is one of the most accessible coffee equipment to work with. Even when you have no prior experience with a coffee maker, you can work with a clever dripper.
When brewing coffee using a clever dripper, a layer of crust forms on the coffee. To make sure all the coffee grounds are equally extracted, you have to stir the coffee to break the crust apart, so all the coffee grounds can mix equally.
Ideal water temperature for the clever dripper is 195ºF – 200ºF.
A medium-fine grind size can get you the highest rate of extraction when you’re working with a clever dripper coffee maker.
A medium/ medium-dark roast of the beans is the best for a clever dripper if you want a cup of coffee with fine flavor.